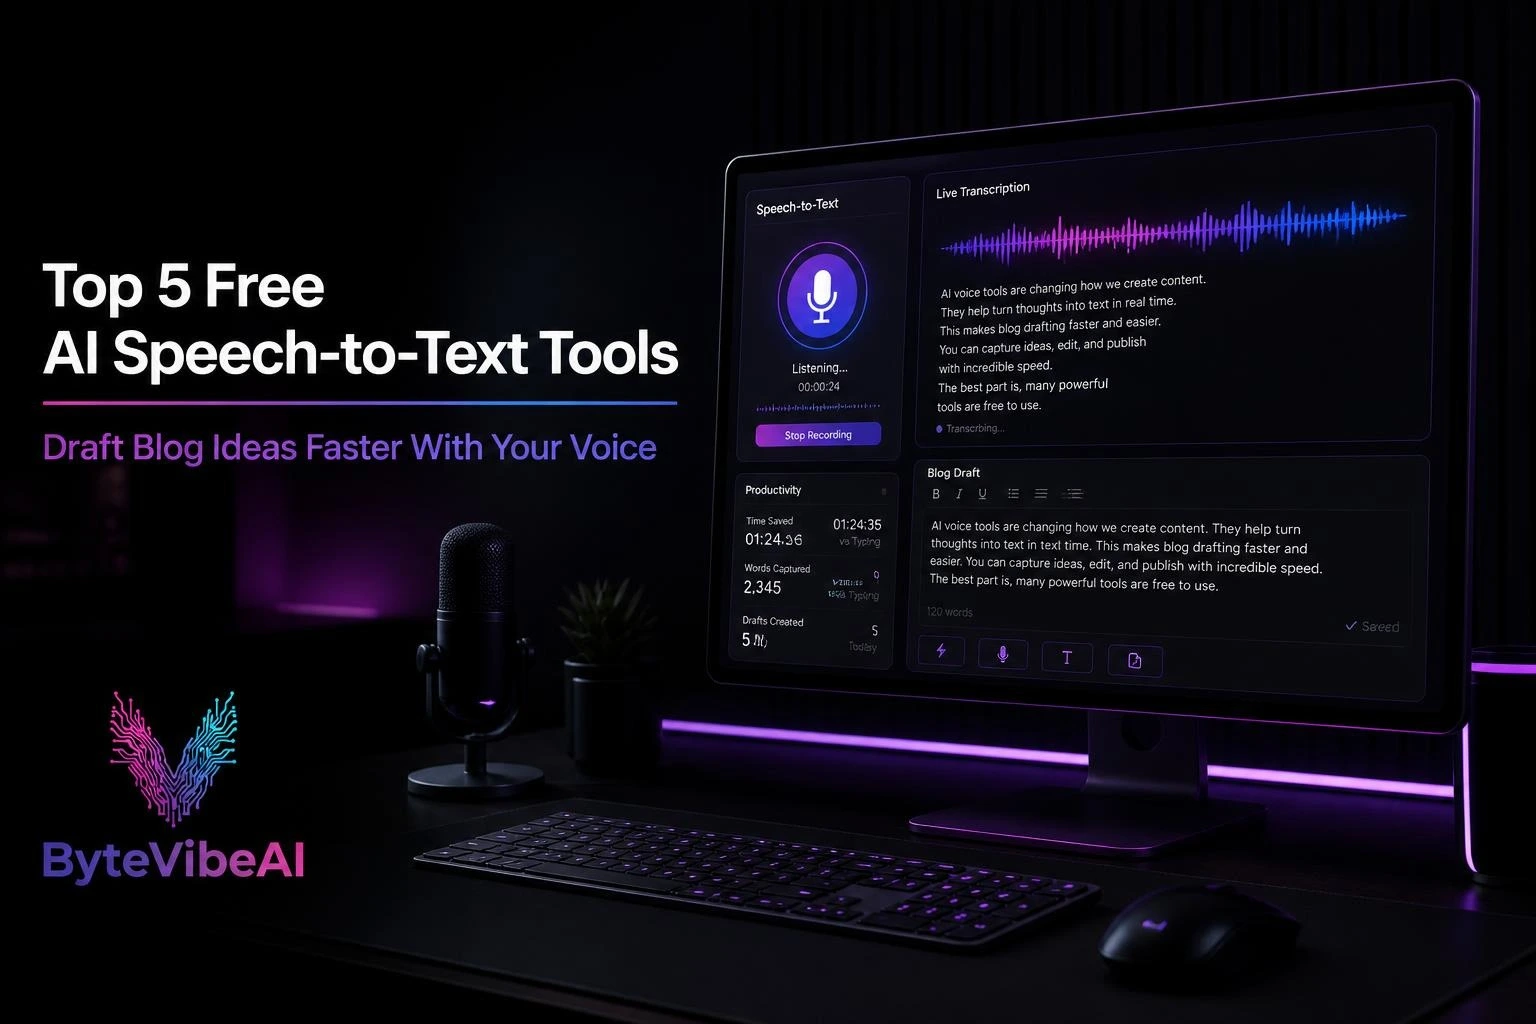
Top 5 Free AI Speech-to-Text Tools for Fast Blog Drafting (2026)
Writing a blog post can be much easier when you already have your ideas figured out. The problem is getting those ideas from your head onto the page without spending hours typing every sentence.
That is where Free AI Speech-to-Text Tools can help.
Instead of typing your first draft from scratch, you can simply speak your ideas and let a speech-to-text tool turn them into written words. You can then edit the transcript, organize your sections, add research, and turn the rough draft into a polished blog post.
This can be especially useful for bloggers who know what they want to say but find typing slow or tiring.
If you are already using AI tools for writing, speech-to-text can also fit nicely into your existing workflow. You can learn more about building a complete writing workflow in our guide to
Best Free AI Writing Tools for Bloggers and Freelancers.
Why Speech-to-Text Is Useful for Blog Writing
Typing is not always the fastest way to capture an idea.
You might have a great introduction in your head while walking, commuting, or doing something away from your computer. By the time you sit down to type, part of that idea may already be gone.
With speech-to-text, you can speak naturally and capture the idea immediately.
For example, instead of typing:
“Many bloggers struggle to maintain a consistent publishing schedule because writing every article from scratch takes too much time.”
You can simply say the sentence aloud and continue explaining your thought.
The transcript becomes your starting point. You still need to edit it, but you have already completed one of the hardest parts of writing: getting the ideas onto the page.
Speech-to-text can be useful for:
- Blog introductions
- First drafts
- Article outlines
- Research notes
- Content ideas
- Social media captions
- Email drafts
- Interviews
- Brainstorming
- Personal notes
The goal isn’t to publish the raw transcript. The goal is to speak your ideas faster and then turn those ideas into better written content.
Quick Overview of the 5 Tools
Instead of using a wide comparison table that can become difficult to read on smaller screens, here’s a mobile-friendly overview of the five tools we’ll cover.
⚡ Google Docs Voice Typing — Best For: Directly dictating blog drafts into a document. Free: ✅ Available
🎙️ Otter — Best For: Longer voice recordings, interviews, and research notes. Free: ✅ Available with limits
📝 Notta — Best For: Transcription, voice notes, meetings, and research. Free: ✅ Available with limits
💻 Microsoft Word Dictate — Best For: Writers who already use Microsoft Word. Free: Depends on your Microsoft setup
🎧 Whisper-based Tools — Best For: Flexible speech-to-text workflows and recorded audio. Free: Depends on the specific tool
Quick Tip: Free plans and usage limits can change, so always check the current plan before choosing a tool for regular content production.
1. Google Docs Voice Typing
If you want the simplest way to start turning your voice into a blog draft, Google Docs Voice Typing is a great place to begin.
You don’t need to learn a complicated transcription platform. You can open a Google Doc, turn on Voice Typing, and start speaking directly into your document.
Google’s current documentation says Voice Typing works in the latest versions of Chrome, Edge, and Safari. It also supports voice commands for tasks such as formatting, selecting text, and moving around the document.
How Google Docs Voice Typing Works
The process is straightforward:
Open Google Docs → Tools → Voice Typing → Click the microphone → Start speaking
Google recommends speaking clearly at a normal volume and pace. You can also correct mistakes while voice typing instead of waiting until the entire draft is finished.
For bloggers, this simple workflow can be surprisingly useful.
Imagine you are writing an article about productivity tools. Instead of opening WordPress and trying to type the introduction immediately, you could open a Google Doc and explain your idea out loud:
Remote workers often use several different apps to manage their tasks, meetings, notes, and communication. The problem is that switching between too many tools can make simple work feel more complicated…
That spoken section gives you a rough introduction. You can then edit it later and make it sound more polished.
Why Bloggers May Like It
The biggest advantage is that everything happens inside the document. You don’t have to record your voice in one application, download a transcript, and then move the text somewhere else. You can simply speak, review the text, and continue editing.
Google also supports voice commands for formatting and document navigation. For example, its official documentation lists commands for headings, bold, italics, selecting text, and paragraph navigation.
Pros:
- Simple to start
- Works directly inside Google Docs
- Great for rough blog drafts
- Easy to edit after dictation
- Supports multiple languages, including Urdu (Pakistan) in its current language list
- Useful for beginners
Cons:
- Requires a supported browser
- A working microphone is required
- Speech recognition can make mistakes
- Raw dictation still needs editing
- Some voice commands are limited to English
Best For: Bloggers who want a simple way to speak their first draft directly into a document. If your main goal is to stop staring at a blank page and start getting ideas down quickly, Google Docs Voice Typing is one of the easiest options to try.
2. Otter
Otter takes a slightly different approach. Instead of focusing mainly on dictating directly into a document, it is built around recording and transcribing conversations and spoken content. That makes it useful for bloggers who collect ideas through voice notes, interviews, meetings, or longer recordings.
For example, you could record yourself explaining everything you want to cover in an upcoming article. You might talk about the introduction, the five tools you want to review, their differences, your recommendations, and the conclusion.
Otter can then turn that recording into a transcript that you can use as raw material for your article.
Why Otter Can Be Useful for Bloggers
One of the biggest benefits is that you don’t have to sit in front of your laptop while creating the initial draft. You can focus on explaining the topic instead of worrying about typing speed.
This can work particularly well for bloggers who naturally explain ideas better by speaking.
Voice recording → Transcript → Organize ideas → Edit → Blog post
The transcript may not look like a finished article, and that’s completely fine. Your first goal is to capture useful information.
Free Plan
Otter’s Basic free plan currently includes up to 300 transcription minutes per month, with individual conversations or imported recordings limited to 30 minutes. The free plan also has limits on file imports and conversation history.
That can still be useful for occasional blog brainstorming, interviews, and shorter recordings. However, if you plan to transcribe a large amount of audio every month, you should check the current limits before depending on the free plan.
Example for Bloggers
Let’s say you’re preparing an article about AI tools for remote workers. Instead of immediately writing 1,500 words, you could record a five-minute explanation covering:
- The main problem remote workers face
- Five tools you want to discuss
- The biggest benefit of each tool
- Possible disadvantages
- Your conclusion
After transcription, you have a large collection of ideas that can be organized into proper sections. This can make the blank-page problem much easier to handle.
Pros:
- Useful for voice recordings
- Good for interviews and research
- Can turn spoken ideas into searchable text
- Helpful for longer brainstorming sessions
- Free plan available
Cons:
- Free plan has usage limits
- Individual transcription length is limited on the Basic plan
- Raw transcripts require editing
- May offer more features than needed for simple dictation
Best For: Bloggers who like recording their ideas first and organizing the transcript into a proper article afterward.
Google Docs Voice Typing vs. Otter
Both tools can help you create content without typing everything manually, but they fit different workflows.
- Google Docs Voice Typing is better when you want to speak directly into the document and immediately start editing.
- Otter makes more sense when your process begins with a recording, interview, meeting, or longer voice note.
Neither approach is necessarily better for every writer. It depends on whether you prefer to dictate directly into your draft or record your ideas first and organize them later.
🔗 Related Reading: If you’re building a faster writing workflow, you may also want to read our guide on
AI Content Editing: Tools to Make AI Text Sound More Human.
Once your speech-to-text draft is ready, editing and improving the final writing becomes the next important step.
3. Notta
Notta is designed around transcription and note-taking, making it useful for bloggers who collect ideas through recordings, meetings, interviews, or research.
Instead of trying to type everything while you’re thinking, you can record your thoughts and turn the recording into text. That transcript can then become the raw material for a blog post.
How Bloggers Can Use Notta
Suppose you want to write an article about five AI tools for freelancers. You could record yourself explaining:
- What problem freelancers are facing
- Which tools you want to cover
- What makes each tool useful
- Features worth mentioning
- Possible disadvantages
- Your main recommendation
Once the recording is transcribed, you can pull the useful information into your article structure.
Free Plan
Notta currently offers a free plan, but it has usage restrictions. Its current plan information lists up to 120 transcription minutes per month, while individual free-plan transcriptions can be limited to 3 minutes per recording.
That means Notta can be useful for short voice notes and smaller content tasks, but bloggers who regularly record long sessions may need a different plan or workflow.
Pros:
- Designed specifically for transcription
- Useful for voice notes and research
- Can handle different types of recorded content
- Free plan available
- Helpful for organizing spoken ideas
Cons:
- Free usage has limits
- Free individual transcription length can be restrictive
- Transcripts still need proofreading
- Heavy users may need a paid plan
Best For: Bloggers who want to capture short spoken ideas, research notes, or conversations and turn them into editable text.
Bohot badhiya! Part 2 bhi ekdam clean format me paste ho gaya hai.
Ab hum PART 3 (Tools 4 & 5, Mobile Cards, Process Steps, aur Conclusion) paste karenge. Niche diya gaya text copy karke WordPress editor me aage paste kar dein:
4. Microsoft Word Dictate
If Microsoft Word is already part of your writing workflow, its Dictate feature can save you from typing your first draft manually.
Microsoft describes Dictate as a speech-to-text feature that can be used to create documents, drafts, outlines, notes, and other content with a microphone and internet connection.
For bloggers, this is useful because you can speak directly into the same document where you plan to edit your article.
A Simple Workflow
You can create your headings first and then dictate each section. For example:
- Introduction: Speak for a minute or two about the topic.
- Tool 1: Explain what the tool does and why a blogger might use it.
- Tool 2: Continue with the next section.
After you’ve finished speaking, you can go back through the document and turn your rough dictation into polished writing.
One Important Point About the Free Label
Microsoft Word Dictate shouldn’t be treated as an unlimited standalone free transcription service.
Microsoft’s current support documentation says Dictate is available with Microsoft 365 and supported versions, and some versions require an active Microsoft 365 subscription. Availability can also differ between desktop, web, and mobile versions.
So if you already have access to Word with Dictate, it can be a convenient option. But don’t subscribe to Microsoft 365 solely because this article calls it a “free” speech-to-text tool.
Pros:
- Dictation happens directly inside Word
- Excellent for rough blog drafts
- Easy to edit after speaking
- Useful for outlines and notes
- Supports punctuation and voice commands in supported languages
Cons:
- Availability depends on your Word/Microsoft 365 setup
- Some versions require a subscription
- Requires a microphone and reliable internet
- Dictated text still needs editing
Best For: Bloggers who already use Microsoft Word and want to dictate directly into their existing writing workflow.
5. Whisper-Based Speech-to-Text Tools
The fifth option is a little different. Whisper is an open-source automatic speech-recognition model rather than a single consumer transcription website.
Its official repository describes Whisper as a general-purpose speech-recognition system capable of multilingual speech recognition, speech translation, and language identification. The project is released under the MIT license.
This means there are different apps and services that use Whisper or related implementations to provide speech-to-text features.
Why Bloggers May Be Interested
Whisper-based tools can be useful when you want to work with recorded audio rather than dictate directly into a document.
For example, you could record a detailed explanation of an article topic on your phone, transfer the audio to a Whisper-powered application, and use the resulting transcript as your starting point.
Record → Transcribe → Organize → Edit → Blog Draft
One advantage of Whisper is its multilingual capability. The official project supports transcription in multiple languages, although performance can vary depending on the language and audio quality.
Is Whisper Completely Free?
The open-source Whisper software itself is available under the MIT license, but that doesn’t mean every Whisper-based website or application is free.
Some services may charge for hosting, additional features, higher limits, or easier interfaces. So when choosing a Whisper-based tool, check the specific service’s pricing and limitations rather than assuming that every Whisper-powered product is unlimited and free.
Pros:
- Open-source speech-recognition project
- Supports multilingual transcription
- Can be used with recorded audio
- Flexible for different workflows
- Useful for users who want more control
Cons:
- Whisper itself isn’t a simple ready-to-use blogging app
- Some setups can require technical knowledge
- Third-party tools may have their own pricing
- Accuracy can vary with language and audio quality
Best For: Bloggers who want a flexible transcription workflow and don’t mind using a third-party Whisper-based application.
Quick Comparison: Which Tool Fits Your Workflow?
Instead of putting five tools into a wide table, here’s the mobile-friendly comparison style we use on ByteVibeAI.
⚡ Google Docs Voice Typing
- Best For: Direct blog dictation
- Free: ✅ Yes
- Workflow: Speak → Edit → Draft
- Beginner Friendly: ⭐⭐⭐⭐⭐
🎙️ Otter
- Best For: Interviews, recordings, and longer ideas
- Free: ✅ Yes, with limits
- Workflow: Record → Transcribe → Organize
- Beginner Friendly: ⭐⭐⭐⭐
📝 Notta
- Best For: Voice notes and short transcription tasks
- Free: ✅ Yes, with limits
- Workflow: Record → Transcribe → Edit
- Beginner Friendly: ⭐⭐⭐⭐
💻 Microsoft Word Dictate
- Best For: Existing Word users
- Free: ⚠️ Depends on your Microsoft setup
- Workflow: Speak → Edit directly in Word
- Beginner Friendly: ⭐⭐⭐⭐⭐
🎧 Whisper-Based Tools
- Best For: Flexible recorded-audio transcription
- Free: ⚠️ Depends on the specific application
- Workflow: Record → Transcribe → Organize
- Beginner Friendly: ⭐⭐⭐
Important: Free-plan limits and product availability can change. Always check the current plan before making a tool part of your regular blogging workflow.
Which Speech-to-Text Tool Should Bloggers Choose?
The answer depends on how you normally create content.
- If you like sitting at your computer and speaking directly into your draft, Google Docs Voice Typing is a straightforward option.
- If you prefer to record your thoughts first, Otter or Notta may fit better.
- If Word is already part of your workflow, Dictate can save you from switching between applications.
- And if you want more flexibility with recorded audio, a Whisper-based application can be worth exploring.
Choose the tool that makes your actual writing process easier.
Don’t Treat the Transcript as Your Final Article
A speech-to-text tool can give you a strong starting point, but spoken language and polished written content are not the same thing.
Before publishing, go through your transcript and:
- Remove repeated ideas
- Fix grammar and punctuation
- Break long paragraphs into smaller sections
- Add useful H2 and H3 headings
- Check names, numbers, and product information
- Remove filler words
- Add examples where needed
- Improve transitions between sections
If you’re also working on making drafts cleaner and easier to read, our article on
AI Content Editing: Tools to Make AI Text Sound More Human can be useful as the next step in your writing workflow.
How to Use Speech-to-Text for Faster Blog Drafting
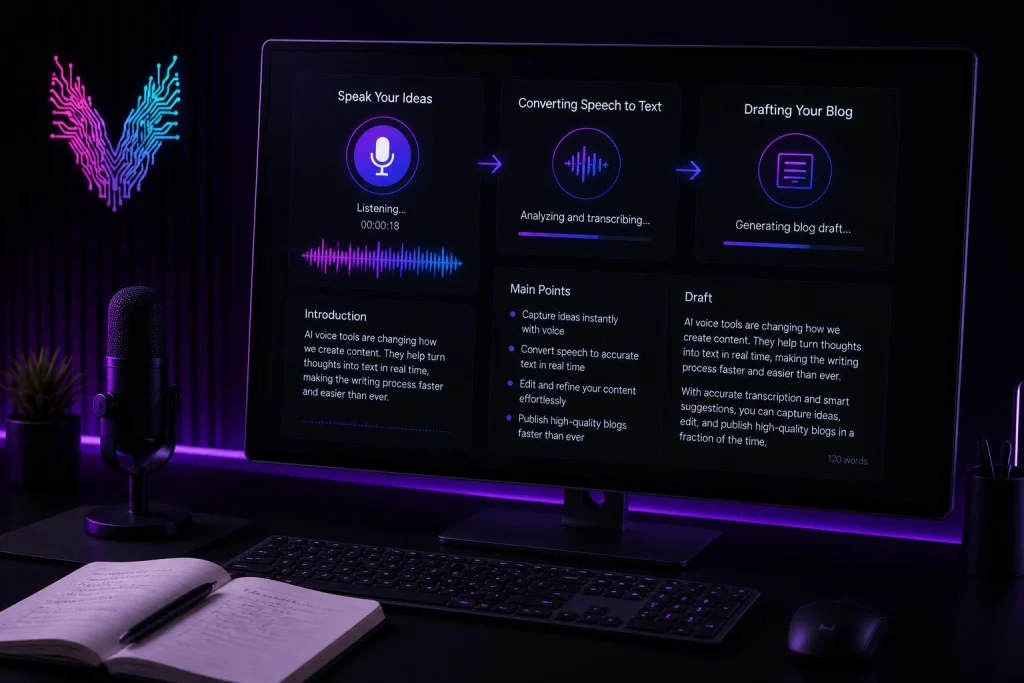
Free AI speech-to-text tools are most useful when you treat them as a first-draft assistant, not as a replacement for editing. Here is a simple workflow bloggers can follow:
Step 1: Start With a Simple Outline
Before opening your speech-to-text tool, create a basic outline (Introduction, Core Points, Final Thoughts). A simple outline gives you direction while speaking.
Step 2: Speak One Section at a Time
Instead of recording 30 or 40 minutes at once, record each section separately. This makes the transcript much easier to organize and edit later.
Step 3: Don’t Try to Sound Like a Writer
Speak the way you normally explain something. The goal at this stage is to capture your ideas, not create a perfect paragraph while speaking.
Step 4: Clean Up the Transcript
Remove repeated words, unnecessary pauses, duplicate ideas, and incorrect punctuation. If you’re looking for guidance on refining raw text, check out our guide on
AI Content Editing: Tools to Make Your AI Text Sound More Human.
Step 5: Add Research and Examples
After organizing your ideas, add useful information such as examples, tool features, screenshots, statistics, or explanations that support your topic.
Step 6: Add Your SEO Elements
Once your main draft is ready, optimize it for search naturally. If you want to update existing content on your blog as well, you can read our guide on
How to Use AI to Rewrite Old Articles and Boost SEO Traffic.
Common Mistakes to Avoid
- Publishing the Raw Transcript: Always edit for structure, grammar, and readability.
- Recording Without an Outline: Keeps your recording focused.
- Making Extremely Long Recordings: Short sections are easier to transcribe and edit.
- Ignoring Incorrect Names or Numbers: Review important details manually.
- Forgetting the Reader: Remove anything that does not add useful information.
Are Free AI Speech-to-Text Tools Good Enough?
For many bloggers, free options can be enough to get started. Google Docs Voice Typing works well for direct dictation, while tools like Otter and Notta are great for recorded audio and conversations.
If you want to build a complete writing system, check out our recommendations for the Best Free AI Writing Tools for Bloggers and Freelancers.
To generate better headlines and search descriptions once your draft is ready, see our list of the Best Free AI Headline & Meta Description Generators for Higher CTR.
Final Thoughts
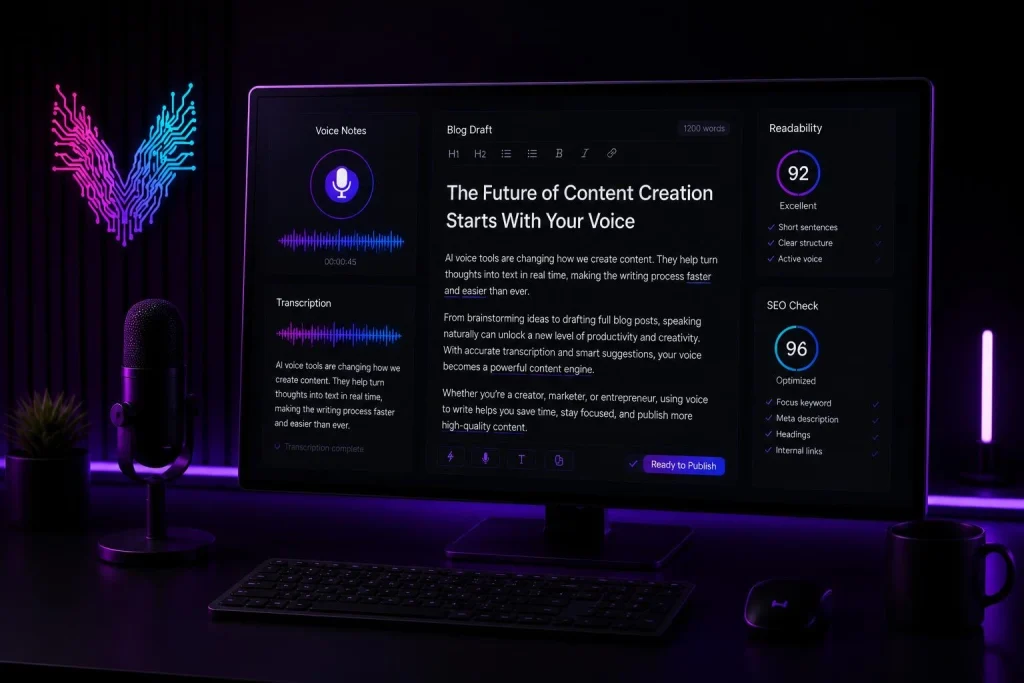
Free AI speech-to-text tools can make blog drafting much easier, especially when typing feels slower than explaining your ideas out loud.
Instead of starting with an empty page, you start with your own ideas already written down. For bloggers, freelancers, and content creators, that small change can make the writing process feel much less difficult.