How To Fix AI Video Face Distortion & Character Drift (Step-By-Step Guide)
Generate a short AI video and the first frame looks perfect. By the fifth frame, the character’s eyes have shifted, the jawline has softened, and by the end of the clip, it barely looks like the same person. This is one of the most common frustrations in AI video generation, and almost every creator runs into it eventually.
The good news is that face distortion and character drift aren’t random. They happen for specific, fixable reasons, and the fix is mostly about workflow, not luck or picking a “better” model.
This guide walks through exactly how to fix AI video distortion in seven practical steps, along with a few tools that make the process easier. Whether you’re working on a faceless YouTube channel, a social media avatar, or a longer narrative project, the same underlying fixes apply.
What Causes Face Distortion and Character Drift
Before fixing the problem, it helps to understand why it happens in the first place.
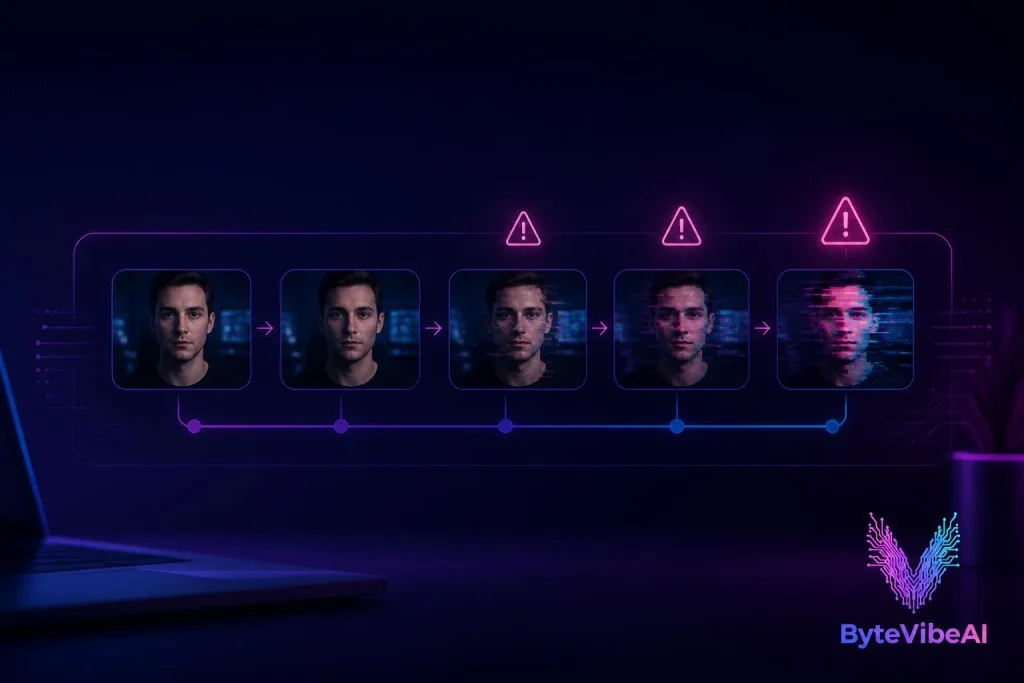
Most AI video models don’t actually remember a character between frames. Instead, they reconstruct the face over and over based on the prompt and whatever reference they were given. Without a strong, consistent anchor, small variations creep in with each new frame, and those small changes compound into visible drift by the end of a clip.
The main triggers are:
- A weak or missing reference image for the character’s face.
- Re-describing the character in words instead of reusing a locked reference.
- Too much motion happening at once, especially combined camera and character movement.
- Long clips, which give drift more time to accumulate.
- Vague prompts that leave too much room for the model to improvise.
- Switching between different AI models or engines mid-project, since each one renders faces slightly differently.
Once you know what’s causing the drift, each step below addresses one of these specific triggers to help fix AI video distortion.
How to Fix AI Video Distortion in 7 Steps
Step 1: Start With a Clean, High-Quality Reference Image
Everything else in this guide depends on this first step. Use a sharp, front-facing, well-lit image of your character as the foundation for every generation. A blurry or low-resolution reference gives the model less detail to hold onto, which makes drift worse from the very first frame.
If possible, use a reference where the face is clearly visible with minimal shadow or extreme angles. A clean, neutral-expression shot tends to generalize better across different scenes than a dramatic or heavily stylized one.
Step 2: Lock the Reference Instead of Re-Describing the Face
Rather than typing out the character’s face details in every new prompt, reuse the same saved reference image across every clip. Re-describing a face in words each time introduces small inconsistencies, since the model is essentially reconstructing the character from scratch instead of matching to a fixed identity.
Step 3: Keep the Identity Prompt Word-for-Word Identical
If your tool requires a text description alongside the reference, keep that description exactly the same across every generation. Even small wording changes, like swapping “brown eyes” for “dark eyes,” can shift how the model renders the face.
Step 4: Separate Character Motion From Camera Motion
Asking the character and the camera to move dramatically at the same time gives the model too many variables to track at once. Keep the camera relatively still when the character is moving, or vice versa, so the model has fewer competing instructions to balance.
Step 5: Keep Clips Short
Drift accumulates over time, so a 15-second clip gives it far more room to build up than a 4-second one. Generate shorter segments and stitch them together in editing rather than pushing for one long, continuous shot.
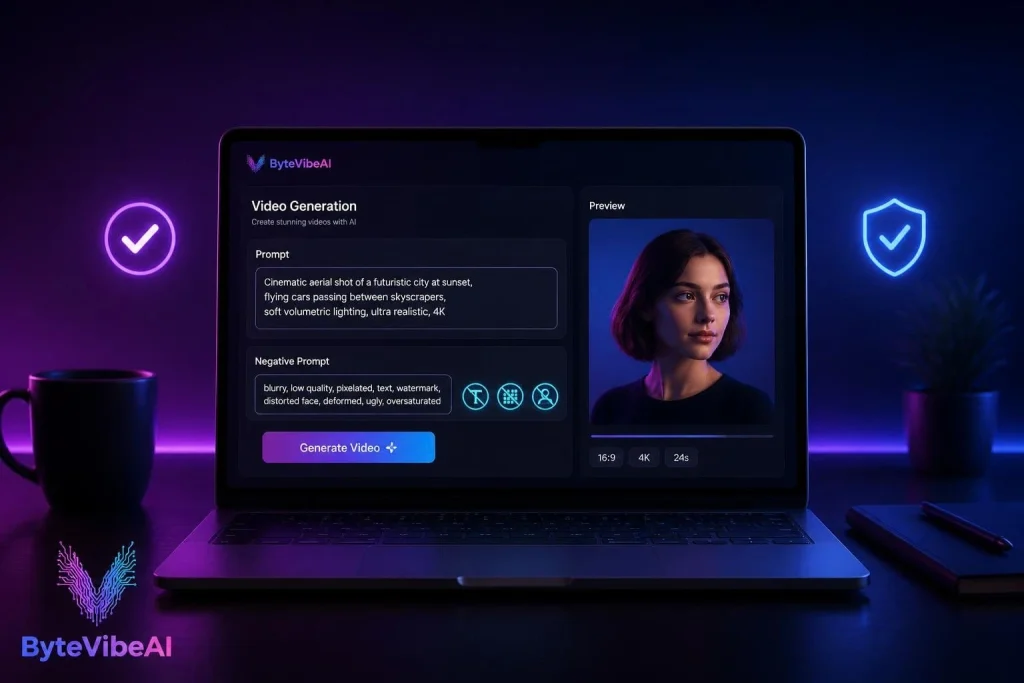
Step 6: Add a Negative Prompt Against Distortion
Many AI video tools support negative prompts, which tell the model what to avoid. Including terms like “distorted face, warped features, extra eyes, asymmetrical face” steers the generation away from the exact artifacts that cause visible drift.
Step 7: Run a Post-Production Face Pass if Needed
If drift still shows up despite the steps above, a dedicated face enhancer tool can clean up individual frames after generation. Treat this as a finishing step rather than the main fix. It works best on a clip that’s already close, not as a replacement for a solid reference and prompt in the first place.
Tools That Can Help
A few tools make the steps above easier to apply consistently.
Character reference platforms like Mage and Character.app let you build and save a character once, then reuse that locked identity across every new generation instead of re-describing it each time. This directly supports Steps 2 and 3 above.
Image-to-video tools built around a strong starting image, such as those offered by several major AI video platforms, help with Step 1 by anchoring the entire clip to one clean reference frame rather than generating purely from text.
Face enhancer and restoration tools can be used as a Step 7 cleanup pass, detecting and correcting facial artifacts in individual frames after a clip has already been generated.
Common Mistakes to Avoid
Even with the right process, a few habits consistently make it harder to fix AI video distortion for good.
1. Changing Multiple Variables at Once
Adjusting the pose, lighting, camera angle, and expression all in the same generation makes it hard to tell what actually caused any resulting drift. Change one variable at a time when troubleshooting.
2. Using a Low-Resolution Reference Image
A blurry or small reference gives the model less detail to anchor to, which shows up as instability later in the clip.
3. Pushing for Long, Single-Shot Clips
Try sticking to:
- Clips under 5 seconds when identity stability matters most
- Stitching shorter clips together in post-production
- Saving longer single shots for scenes where drift matters less
4. Ignoring the Reference After the First Frame Looks Right
A strong first frame doesn’t guarantee a stable clip. Review the full generation, not just the opening frame, before deciding a take is usable.
Frequently Asked Questions
Why does my AI character’s face keep changing mid-video?
This happens because most AI video models reconstruct the face frame by frame instead of remembering it, so small variations compound into visible drift without a locked reference.
Does shortening the clip actually reduce distortion?
Yes. Drift accumulates over time, so shorter clips simply give it less opportunity to build up before the shot ends.
Can I fix distortion after the video has already been generated?
To some extent. A dedicated face enhancer pass can clean up individual frames, though it works best as a finishing touch on a clip that’s already close rather than a full fix.
Is character drift worse on certain AI video tools?
Most AI video models experience some degree of drift, since it’s a structural challenge rather than a flaw unique to one platform. A consistent reference-based workflow helps regardless of which tool you use.
Final Thoughts
To fix AI video distortion for good, it comes down to giving the model a stable anchor and reducing the number of things it has to guess at once. A clean reference image, a locked identity, shorter clips, and controlled motion solve the vast majority of drift issues before they even start.
Work through the seven steps above in order to fix AI video distortion, starting with your reference image, since that single choice has the biggest impact on everything that follows.
Drift isn’t a sign that AI video doesn’t work. It’s a workflow problem with a workflow solution, and once the process clicks, consistent characters stop being the exception and start being the default.
You May Also Like
If you enjoyed this guide, you may also find these articles helpful:
- 5 Best Free AI Video Generators For TikTok & Instagram Reels
- How to Create Animated AI Avatars for Reels (Step-by-Step)
- How to Turn Text into Video: The Best Free AI Tools for Video Creation
- 5 Best Free AI Image Upscalers To Fix Low-Resolution Photos
Call To Action
Ready to keep your characters consistent? Explore more AI Design guides on ByteVibeAI to discover beginner-friendly tutorials, free AI tools, and practical tips for creating standout content.